
This post may contain affiliate links. If you make a purchase through links on our site, we may earn a commission.
When fall’s first frost is on the horizon—or the garden simply gives you more bell peppers than you can use at the moment—freezing them is one of the easiest ways to save bell peppers for later use. Frozen peppers are convenient, colorful, and ready for soups, stir-fries, casseroles, fajitas, sauces, omelets, and skillet meals. The process is simple: wash, seed, cut, freeze, and store. With a little preparation, your homegrown peppers can stay useful long after the plants stop producing. In this article, you’ll learn how to freeze bell peppers from the garden and get plenty of tips for success.

Why freeze bell peppers?
Freezing bell peppers is practical because it preserves the harvest with very little equipment and very little prep time. Unlike canning, it does not require jars, pressure processing, or a tested brine. And unlike many other vegetables, bell peppers do not need to be blanched before freezing. It is also a good option when your pepper plants ripen faster than your weekly meals can keep up. Instead of letting extra peppers go to waste, you can turn them into ready-to-use freezer staples.
Frozen peppers are best for cooked dishes because freezing softens their texture. They still bring sweet pepper flavor, bright color, and garden-grown freshness to recipes, but they will be softer once thawed. That makes frozen bell peppers ideal for meals where texture is not dependent on a raw crunch. If you often cook with peppers, freezing now saves time later because the washing and chopping are already done.

Choosing the best bell peppers for freezing
Choose firm, fresh bell peppers that feel heavy for their size and have smooth, glossy skin. Green, red, yellow, and orange bell peppers can all be frozen, so use whatever your garden produces. Fully colored peppers tend to taste sweeter, while green peppers have a sharper flavor. Both freeze well, but the best results come from peppers that are at peak quality when they go into the freezer.
One important step in learning how to freeze bell peppers is knowing to avoid peppers with soft spots, wrinkled skin, mold, sunken areas, or insect damage. If a pepper has one small blemish, cut it away and freeze the rest of it. For the best color and flavor, freeze peppers the same day you harvest them or as soon as possible after picking.
Harvesting peppers for freezing
Harvest bell peppers when they are the size and color you prefer, or if fall’s first frost threatens, go ahead and pick them all, no matter their stage of development. Even small, immature bell peppers are edible and freeze well. Use clean garden snips or pruners to cut the fruit from the plant with a short stem attached. Pulling peppers off the plant by hand can break branches or damage the fruits.
For the cleanest harvest, pick peppers when the foliage is dry. Bring the harvest inside promptly, rinse off any dirt, and refrigerate any peppers you cannot process right away. Freezing soon after harvest helps preserve flavor, color, and overall quality.

Do you need to blanch bell peppers for freezing?
Good news! You do not need to blanch bell peppers before freezing. You can blanch them if you want, but raw frozen peppers keep a crisper texture and are quick to prepare. Some people find blanched peppers last longer in the freezer, but if you plan to use your frozen peppers within 6-8 months, there’s no need to blanch prior to freezing. If you do decide to blanch, pepper halves need about 3 minutes in boiling water, while strips or rings need about 2 minutes, followed by quick cooling in ice water.
For most home cooks, freezing peppers raw is the simplest choice. It saves time and works well for recipes where peppers will be cooked from frozen. I love to use my frozen bell peppers in chili, beans-and-greens, casseroles, and dozens of different crock pot recipes.
Step 1: Prepare the peppers
Start with clean hands, clean tools, and a clean cutting board. Rinse each bell pepper under cool running water and gently rub the surface to remove any debris. Do not soak the peppers. Pat them dry with a clean towel before cutting. Drying them is important because any moisture on the cut peppers will form ice crystals and could hasten freezer burn.
Cut around the stems or slice the pepper into quarters from top to bottom. Remove the stem, seeds, and pale inner membranes. A spoon, melon baller, or your fingers can help loosen seeds quickly. Trim away any bruised spots or damaged areas.
Note: If you are handling hot peppers at the same time (you can freeze hot peppers in this exact same way), wear gloves and keep them separate so their heat does not transfer to your sweet pepper pieces.

Step 2: Cut the peppers
Cut peppers in the shapes you use most often. Dice them for omelets, soups, chili, pasta sauce, and casseroles. Slice them into strips for fajitas, stir-fries, sausage-and-pepper skillets, and sheet-pan dinners. Cut rings if you’re a little fancy. Keeping pieces similar in size helps them freeze and cook more evenly.
If you have a large harvest, divide peppers by color, size, or intended use. For example, freeze diced green peppers in one bag and mixed-color strips in another. Labeling them by cut saves time later. I have no need to separate them by colors and always freeze in strips, so I just keep it simple and keep them all together.

Step 3: Choose between tray freezing and bag freezing
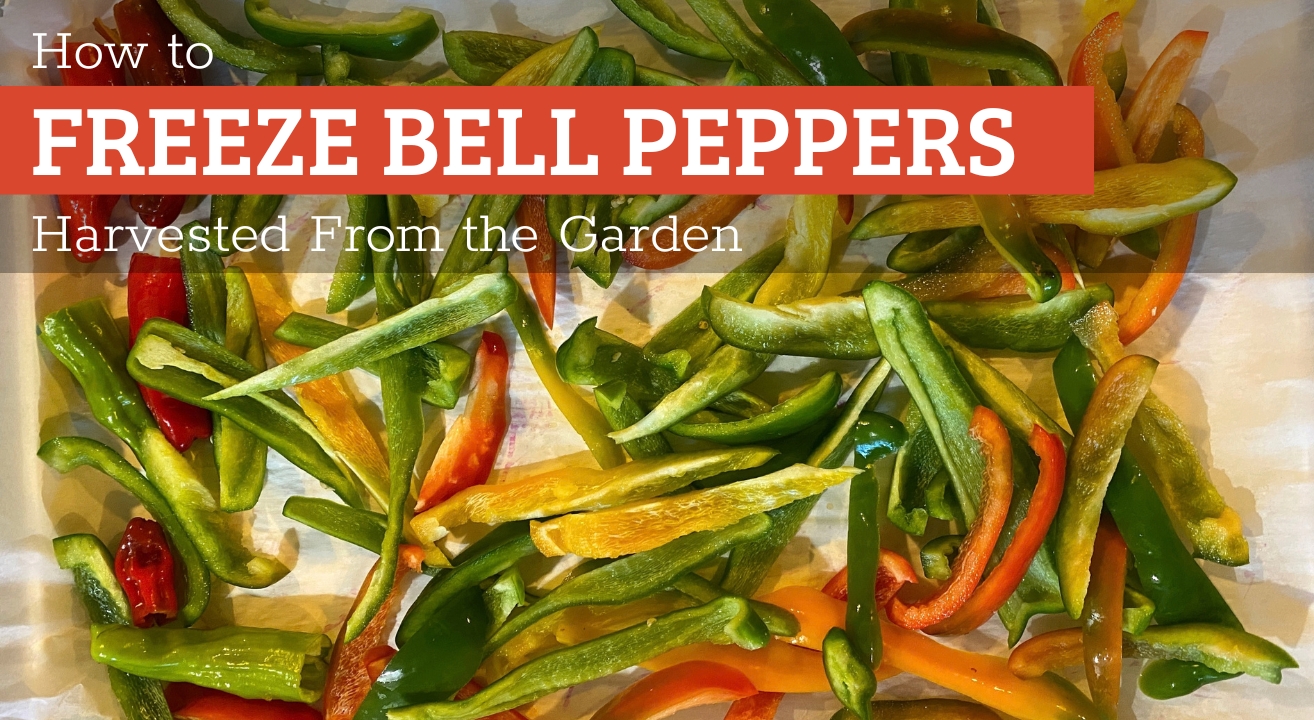
Tray freezing is the best method if you want loose pepper pieces that are easy to measure or to just grab a handful at a time. Line a sheet pan with parchment, spread the cut peppers in a single layer, and freeze the tray until the peppers are frozen solid. Then transfer the frozen peppers to a freezer bag or containers. Because the pieces freeze separately first, you can scoop out only what you need when you’re ready to use them. This is how I freeze all of my bell peppers.
Bag freezing is faster when you know you will use an entire portion at once. Place cut peppers directly into freezer bags, press out as much air as possible, seal, and freeze. This approach is convenient for meal-sized portions. When I freeze individual portions of veggies in bags like this, I always use my vacuum sealer to remove all the air. For either method, use packaging made for freezer storage, not thin sandwich bags, which encourage freezer burn.

Step 4: Store frozen bell peppers properly
Store frozen bell peppers in airtight freezer bags or rigid freezer-safe containers. Remove excess air before sealing to reduce frost and freezer burn. Flatten bags so they stack neatly and freeze quickly. Label each package with the date, “bell peppers”, and cut style if desired, such as “red pepper strips” or “green pepper diced.”
Keep the freezer at 0°F or below for best quality. Frozen vegetables are best used within about 8 months, although they may remain safe longer if kept continuously frozen. Rotate older packages to the front so they get used first. You can also freeze peppers in a bag with other veggies to use together in “dump” recipes.

Tips for using frozen bell peppers
In most cooked recipes, add frozen bell peppers directly from the freezer. Thawing first can make them watery and limp. Toss frozen strips into a hot skillet, stir diced peppers into soups and chili, or add them to casseroles before baking. Because they release moisture as they cook, you may need to sauté a little longer or reduce extra liquid in the recipe.
Frozen peppers are not really suitable for fresh salads or raw snack trays because they lose their crunch after freezing. Use fresh peppers when texture matters most. Use frozen peppers when flavor and convenience matter most. They are especially helpful for quick weeknight meals because the chopping is already done.

Common mistakes to avoid when learning how to freeze bell peppers
- Do not freeze peppers that are already soft, moldy, or badly damaged. Poor-quality peppers will taste poor later.
- Do not skip drying the pieces after washing or blanching, because extra water creates ice crystals.
- Do not overpack bags without removing air, and do not use containers that are not meant for the freezer.
- Another common mistake is freezing a bunch of pepper pieces together in one large bag. Smaller portions are easier to use and help prevent repeated thawing and refreezing.
Finally, remember that frozen bell peppers are best as cooking peppers, and you will get the most value from every pepper you grew. Happy pepper freezing!
Here’s how to safely freeze other garden crops:

Leave a Reply