
This post may contain affiliate links. If you make a purchase through links on our site, we may earn a commission.
When it comes to seed starting, the big question is what is the best way to start seeds – with grow lights or sunny windowsills? Providing enough light is one of the biggest challenges when starting seeds indoors. Too little light causes leggy, floppy seedlings. The right amount means strong, vigorous plants ready for your garden. In this article I’ll deep dive into the best way to start seeds; with grow lights or a sunny windowsill. I’ll share the benefits and drawbacks of each as well as tips for seed starting success.

Why light is so important for seed starting
For healthy, robust growth, vegetable, flower, and herb seedlings need lots of light. With too little, they grow leggy with tall, stretched stems. This weak growth causes them to flop over as they reach for the closest light source, often a windowsill. Without enough light, the small plants also don’t produce adequate amounts of chlorophyll and the leaves turn pale green to yellow.
We start seeds indoors to give us a head start on the growing season, and the best way to do that is by producing vigorous seedlings. For most seeds, light isn’t necessary for germination. That means pots or trays of just-planted seeds don’t need to be moved immediately to a light source. Once the seeds sprout, however, they’ll need the right light intensity and duration to for strong, consistent growth.
The best way to start seeds: grow lights or windowsills
There are two main light options when starting seeds indoors; a sunny window or a grow light. Let’s look a bit closer at these options.

There is another unique way to start garden seeds: Winter sowing. In this video, Niki shows you how to start seeds outdoors using this fun and useful technique that doesn’t require grow lights or a windowsill.
The best window for seed starting
When it comes to light, not all windows are equal. Ideally, a south-facing window offers the best and brightest light. However, depending on your latitude, even a south-facing window may not provide enough natural light, especially when starting vegetables, flowers, or herbs in January, February, or March. A north window is the least desirable as it delivers only weak, indirect light. An east-facing window enjoys direct morning sun that softens to indirect light by midday. West-facing windows are the opposite and have indirect morning light and bright afternoon light.
The benefit of starting seeds on a windowsill is that it’s convenient, requires no expensive equipment, and doesn’t use extra energy. If I was new to seed starting and only sowing a couple of pots or a single tray of seeds, a window is fine. Just find your brightest window. Drawbacks include insufficient light for sturdy seedling growth. Even south-facing windows are impacted by cloudy or rainy weather which can reduce light over days. Windowsills also experience temperature fluctuations, especially in late winter and early spring. The outdoor air is colder at night but when the sun is out, the daytime temperature on a windowsill can spike.
Tips for windowsill seed starting
As we learn more about the best way to start seeds, windowsill gardens benefit from these tips:
- Even if you do have a south-facing window for starting seeds, make sure light isn’t blocked by curtains, shades, or blinds, or even tall trees or shrubs in your yard.
- Rotate the pots or trays every day or two so that your transplants grow straight and don’t bend as they reach for sunlight.
- Ensure the foliage of growing seedlings doesn’t come in contact with the window as that can damage plant tissues.

Spindly, leggy seedlings grown on a windowsill that didn’t offer enough sunlight.

Using grow lights for seed starting
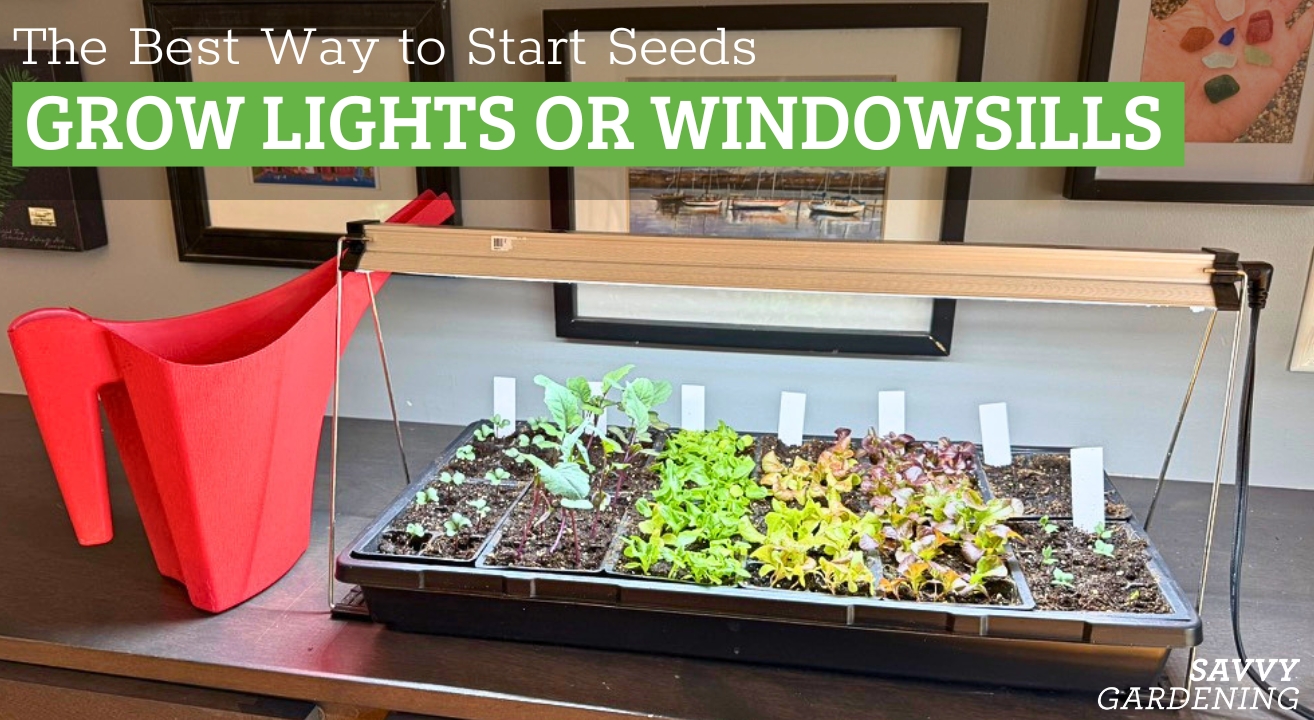
I’m often asked whether grow lights are worth the expense. If you’re serious about seed starting, the answer is yes, especially if you don’t have a suitable window. Grow lights provide consistent and controllable light. You don’t have to worry about clouds or stormy weather blocking light. It also means I have a specific part of my house for seed starting and I’m no longer trying to fit dozens of trays in front of all my windows each spring.
My first grow light was a 4-foot long shop fixture fitted with fluorescent bulbs. It was inexpensive and simple, but very effective. That was over 30 years ago and I’ve since switched to LED grow lights which offer advantages over florescent fixtures.

Fluorescent light fixtures
As noted above, the big advantage of fluorescent grow lights is their initial low cost. However, they are not as energy efficient and nor do they last as long as LED grow lights. They also give off more heat which raises the temperature under the fixtures. That can impact growth of heat-sensitive seedlings.
Fluorescent grow lights must be relatively close to the tops of your seedlings. Valuable light is lost when they are hung too high. The ideal height is 3 to 4 inches above the tops of seedlings. I hung my florescent fixtures on chains to make them easily adjustable.
LED grow light fixtures
About a decade ago, I decided to upgrade my seed-starting set up and bought a three tier LED grow light stand. I opted for full spectrum LED fixtures because they are very energy efficient, last much longer than fluorescent bulbs, don’t throw off a lot of heat, and are extremely effective. The downside is that there is a higher initial cost. To me, the benefits outweighed the drawbacks.
Since then, I’ve added five more LED fixtures to my seed-starting set-up including another three tier grow light stand and several tabletop LED lights. They’re perfect grow lights for seedlings, but I also use them to grow microgreens, shoots, and herbs year-round.

Expert tips for the best way to start seeds with grow lights
- Keep light fixtures 4 to 6 inches above seedlings to ensure the proper amount of light.
- I leave my grow lights on for 16 hours a day.
- Use inexpensive timers to turn fixtures on and off each day.
Can you combine a windowsill and grow lights?
Yes! You certainly can use both to save energy costs but still produce vigorous seedlings for your garden. If your windowsill is shaded in morning, turn on an LED grow light for 3 to 4 hours, or until the sun reaches your plants. Alternatively, if you only have morning sun, use the grow light in the afternoon to boost photosynthesis.

Avoid 5 common seed-starting mistakes with these simple tips and tricks
Now that we’ve looked closer about the best way to start seeds and the light they need, here are more expert tips.
- Starting seeds at the wrong time – Sowing too early – or too late! – impacts yield. Read your seed packet (Or one of my books) to find the best time to start seeds.
- Not paying attention to planting depth – Once your trays, pots, or toilet paper rolls are filled, or soil blocks made, sow seeds at the right depth. For most types of seeds that is 2 to 3 times their diameter. For small seeds it’s just a few millimetres, while larger seeds are planted a quarter or a half inch deep. Don’t forget to add labels.
- Keeping the room too cold or too warm – Warm season vegetables germinate faster and better with bottom heat. I use a heat mat for crops like tomatoes, eggplant, and peppers. I don’t bother for cool season vegetables like cabbage, lettuce, and broccoli. As for the thermostat in my home, I keep it set around 70 degrees F (21 degrees C) which is ideal for most types of seedlings.
- Not considering humidity – Using a plastic humidity dome or a sheet of plastic wrap overtop the growing medium helps boost germination. Remove covers as soon as you see green as too much moisture can prompt seed or root rot.
- Not adding a fan to your seed starting space – Poor air flow, like that in a basement, leads to fungal and mold problems. Use a small oscillating fan to improve air circulation and seedling health.

The bottom line: The best way to start seeds – grow lights or windowsills
So, what IS the best way to start seeds? Do seedlings need grow lights? If you’re new to seed starting and just want to try your hand at growing a few tomato plants without investing much money, stick to a sunny, south-facing windowsill. If you’re starting more than a few flats each year, and will continue to use your grow lights to start additional seedlings for succession and fall or winter planting, you will likely find that a simple light set-up pays off.

I’m doing both-some seeds that I’m going to end up planting outside are under a light I managed to borrow to try. I’m growing lettuce in my south facing bay window with a bunch of chives I brought in last fall!
Good (cold, icy, snowy) morning from upper middle TN! With my broccoli taking off beautifully, and eggplant starts right behind, please tell me how long I should leave my lights on them. They are on a 6 ft table, under 2 sets of the coolest shop lights, SW facing. The windows are bubble-wrapped, so there is great protection from the cold while still allowing for excellent natural light for 4-6 hrs.
It is good to point out that cool white fluorescent lights work very well and are less expensive than special full spectrum bulbs. An inexpensive fluoresent fixture installed on adjustable chains allows for a lots of plants to be grown in quite a small area. Keep the lights very close to the seedlings so they don’t become lanky.