
This post may contain affiliate links. If you make a purchase through links on our site, we may earn a commission.
Basil is an essential part of my summer vegetable garden. I grow it in pots and in my raised beds so I have lots to harvest. Saving basil seeds at the end of the growing season is rewarding. Not only does it save you money, the seed you save can produce plants that are extra resilient in the face of your specific growing conditions.
If you allow your basil plants to set seed and give those seeds enough time to mature, the seeds you save should produce viable plants in the future. Just how long will your seed keep? That depends on how carefully it’s harvested, processed, and stored.

Why save your own basil seeds?
Saving basil seeds from plants grown in your own microclimate can help to ensure that your future basil crops will be healthier and more resilient year after year. That’s because you will literally be selecting for the plants that perform best in your area. Continue to do this each growing season and you could end up with a genetic strain that handles your local climate and insect pest pressures better than other strains of the same basil variety that were grown in other areas.
When you collect and save your own basil seeds, you can also save a little money. Instead of having to buy new basil seed each year, you can spend that part of your budget elsewhere.

Heirlooms, hybrids, and your own crosses
This may sound obvious, but when saving basil seeds, it’s important to know which basil variety you’re starting with and, most important of all, whether or not it’s a hybrid. Hybrid varieties, like Nufar hybrid basil, are genetic crosses between other kinds of basil, and the seeds they produce won’t be true to type. In the case of Nufar, for example, it has been specially bred to be resistant to Fusarium wilt. So, if you were to save its seed to plant again, it would revert to one of the genetic parent plants and wouldn’t have the same characteristics that Nufar originally had.
Heirloom or open-pollinated varieties, such as Sweet Basil and Sweet Thai Basil, on the other hand, will stay true to type as long as they haven’t been allowed to cross with another open-pollinated basil varieties growing nearby. To avoid cross-pollination between different basil types, keep at least 150 feet between them. Alternatively, you can hand-pollinate your basil plants and then prevent further pollination by covering them with insect barrier cloth.

Of course, one other reason you might start saving basil seeds is that you want to experiment with your own basil crosses. In that case, you’d pollinate one basil variety with the pollen of a different basil variety, save the seeds produced, and grow them out next season to see what, if any, interesting traits result.
When is the right time to harvest basil seeds?
During the growing season while harvesting basil leaves for use in salads, pestos, and other dishes, you likely got into the habit of removing flowers to prevent your plants from bolting. If you don’t continually pinch off your basil plants’ flower heads, your plants will eventually “bolt” or go to seed. At that point, your plants stop putting energy into leafy, green growth and instead work on developing flowers and seeds.
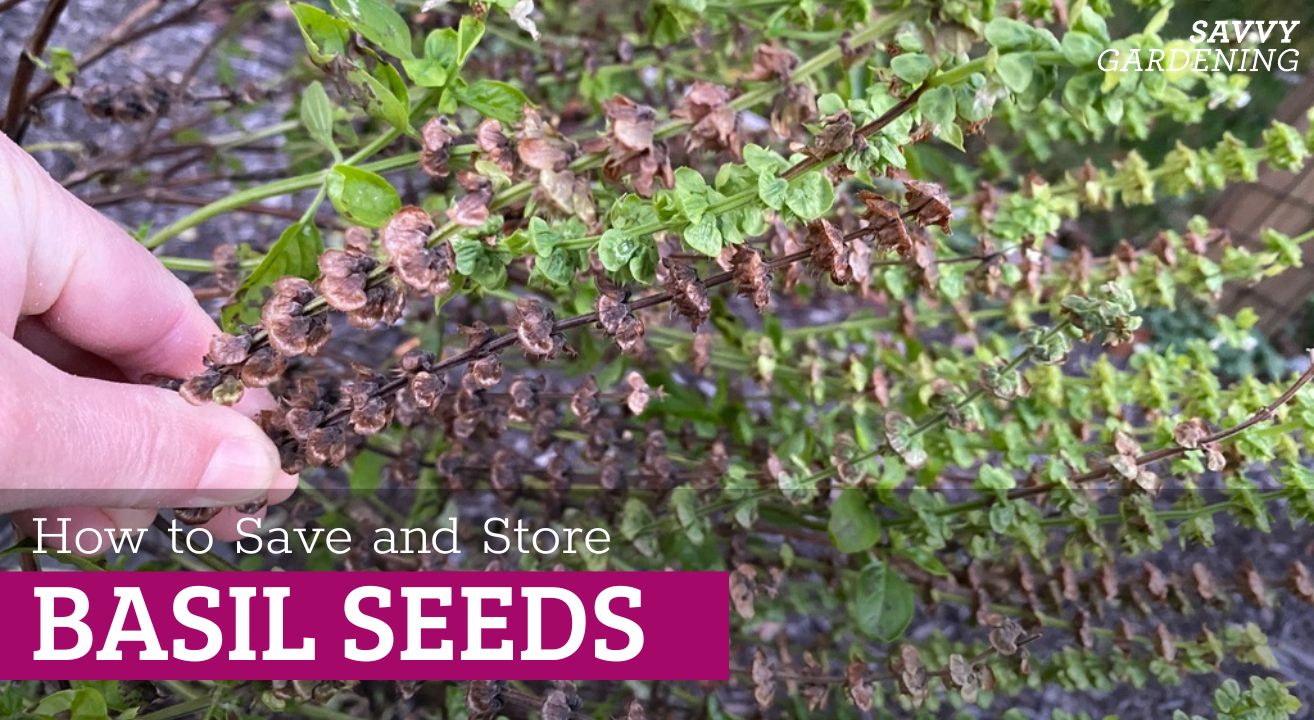
The flowers themselves develop along tall, straight stalks, and the seeds form inside tiny podlike structures called carpels. To collect basil seed, you need to allow each flower stalk to turn brown and dry. (This usually takes place by late summer or early fall.)

Harvesting basil seeds—step by step
Once flower stalks look brown and relatively dry, break or trim them off, loosely bundle them together, and place them with their seed heads facing down inside a clean, dry paper bag. Next, tie the bag around the end of the bundled stems and hang in a dry, dark place to finish the seed-harvesting process. As the flower heads continue to dry, each seed-containing carpel will split open and release its dry seed. All of these released seeds will drop down to the bottom of the paper bag.
This method is preferable to actively forcing seeds out of their seed heads. By allowing the dried seeds to fall out of the carpels at their own pace, you’re less likely to have large numbers of unripened seeds included with your final product.
Which plants are best to save seed from?
When saving basil seeds, it’s a good idea to choose only the healthiest plants from which to harvest seed. In other words? Avoid saving basil seeds from stunted or obviously diseased plants, since seeds saved from these may not give you the best possible start next season. In particular, you should skip saving basil seeds from any plants which were infected with bacterial leaf spot or fusarium wilt as both of these can be transferred to your saved seed.

What about saving seed from different basil varieties?
Remember, as long as you leave ample room between the different types you’re growing, open-pollinated or heirloom basil varieties shouldn’t cross-pollinate. (Ideally, different kinds of basil should be spaced about the width of a football field apart.)
After you cut off your dried flower stalks, take special care to label them, so that you don’t lose track of the different types of basil seeds you’re saving. You can do this by tying labels around different bunches of basil stalks or by labeling each of the paper bags the different types are contained in.

Separating your basil seeds from the dried leaves and stems
Once most of the basil seeds have dropped to the bottom of the paper bag, it’s time to separate them from any dried leaves or bits of stem which may also be mixed in. For very small seed batches you can simply remove any leaves and stems by hand.
But to separate larger quantities of seed, you may want to use a mesh kitchen strainer and large bowl. Before you start, spread out some clean, dry newspaper or a light colored bedsheet to catch any stray seeds. Next, place the bowl in the center of this catch-all area and, pouring a little at a time, direct some of the bag’s contents into your strainer. Gently jiggle the strainer over the bowl so that the small basil seeds fall through. Most of the large dried leaves and stems should remain inside the strainer and can be discarded. Repeat this process until you’ve emptied the paper bag.

Essential seed-storing supplies
Keeping moisture out of seed storage containers is paramount. Enclosing some food-grade desiccant packets along with your seeds will help to keep them dry. You can use a clean glass jar with a tightly fitting lid to store larger quantities of seed. Because they block some light, amber-colored jars work especially well.
To share your seeds, package them in a labeled, dated envelope. Envelopes for storing keys and coins are a good size for sharing small amounts of seed.
What you need to know about long-term storage
For best results, keep your seed containers in a cool, dark, low-humidity environment. Stored properly, your seeds can remain viable for at least a few years; however, their germination rate will begin to decline over time. You can test the viability of your seeds by placing some of them onto a moistened paper towel or coffee filter, putting this in a partially opened zip-top baggie, and checking to see how many of the seeds sprout.

Leave a Reply