
This post may contain affiliate links. If you make a purchase through links on our site, we may earn a commission.
I will admit, I was skeptical about learning how to freeze butternut squash. As a winter squash, butternut is a good storage vegetable. When harvested, cured, and stored properly, it will keep in a pantry or dry area for months. So why should I bother to learn how to freeze butternut squash if it stores on the shelf for so long? Well, since I’ve started preserving this vegetable in this way, I’m a frozen-squash convert. In this article, I’ll explain why you too might want to freeze your butternut squash and how to harvest and prepare the squash, and I’ll offer a step-by-step guide to freezing squash cubes. If you’re interested in freezing mashed squash, I’ll cover that, too, along with a few other tips to help you learn how to freeze butternut squash with success.

The benefits of freezing butternut squash
While butternut squash has a long shelf life after harvest, there are reasons why you might want to freeze it:
- It’s convenient to pull out a container of already-cubed or -pureed frozen squash to throw into recipes. This is a great weeknight dinner-prep hack.
- When you cut open a squash but only need part of it for a recipe, you can freeze the rest, ensuring it won’t go to waste.
- If a squash has imperfections that make it unlikely to keep for long, freezing gives you the option of preserving it for a longer period.

When to harvest butternut squash for freezing
Learning how to freeze butternut squash begins with the harvest, and knowing when to harvest butternut squash is fairly straightforward. Ideally, you’ll wait until the squash vine dies back, the squash fruit is a uniform orange color, and your fingernail doesn’t dent the rind. Be sure to harvest your squash before a frost.
Selecting and preparing butternut squash for freezing
When it comes to freezing, choose butternut squash that are mature, firm, and have been cured. You can cut around blemishes and imperfections, but you don’t want a mushy or moldy squash. While you may be eager to jump into the freezing process, wait until your squash has fully cured, which sweetens the flavor.
Learn more about harvesting and curing butternut squash in this article.

Step 1: Washing and peeling the butternut squash
The first few steps in freezing butternut squash are no different than if you were cooking the squash to eat right away. Start by rinsing dirt off the squash with water.
To peel the squash, cut off the ends of the squash so it sits stable on the cutting board. Use either a sturdy vegetable peeler or a sharp knife to cut away the rind.

Step 2: Removing the seeds
Cut the squash in half lengthwise, and scoop out the seeds with a spoon. With the seeds, you have a few options:
- Rinse and roast the seeds for a delicious snack.
- If this is an open-pollinated variety, save the seeds to plant next year. Squash seeds aren’t the easiest to save, as butternut squash is likely to cross pollinate with other butternut varieties as well as Buttercup, Banana, Hubbard and Turban squashes.
- Compost the seeds, and get ready to see what might grow out of your compost pile come springtime.

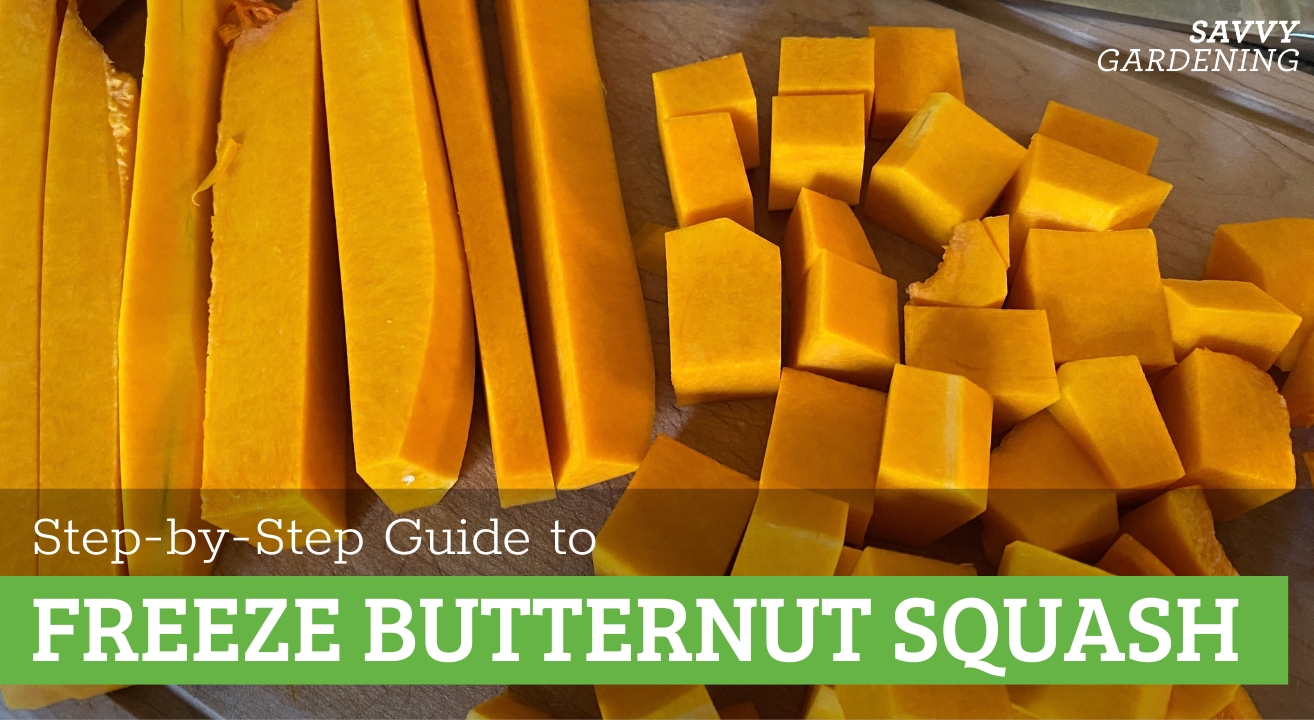
Step 3: Cutting the squash into cubes.
Dice the raw butternut squash flesh into 1-inch cubes, so they will be ready to add to your casseroles or soups when they come out of the freezer.

Step 4: Blanching the squash
Blanching is the process of dipping vegetables into boiling water to stop the enzymes that cause them to lose quality and nutrients while frozen.
To blanch:
- Bring a pot of water to a boil.
- Add butternut squash cubes to the boiling water. Use a blanching basket, if you have one.
- Wait 3 minutes, and scoop the squash out of the water using the basket, a skimmer spoon, or simply a slotted spoon.

Step 5: Cooling and draining
Immediately plunge the quick-boiled butternut squash into a bowl of ice water. This is an important blanching step, as it halts the cooking process. You don’t want to fully cook the squash, just heat it through. Once cool, drain the squash pieces as thoroughly as possible in a colander over the sink.

Step 6: Tray freezing vs. bag freezing
With butternut squash pieces ready to go into the freezer, you have two freezing options. The one you choose depends on your freezer space and how you plan to use the squash. They are:
- Tray freezing: Spread out the squash pieces in a single layer on a metal baking sheet lined with parchment paper to freeze them individually. They should be frozen in about 4 hours, when you can transfer them to a storage container. This method keeps the squash pieces separate, so it’s easy to scoop them out and use them a few cubes at a time.
- Bag freezing: Pour a portion of the squash pieces into a bag or other freezer container, and put the whole container in the freezer. This requires one less step, but the squash pieces will all freeze into a clump, rather than as separate pieces.

Step 7: Packaging for freezing
Use freezer-safe packaging for freezing your squash. This might be plastic freezer bags, plastic containers labeled for freezer use, or wide-mouth pint or pint-and-a-half mason jars.
When freezing butternut squash in plastic freezer bags, press out as much air as possible before sealing. When freezing in the hard-sided containers, leave 1/2-inch of headspace to accommodate the squash expanding in its frozen state. I have a vacuum sealer that I love to use when freezing all kinds of vegetables from the garden. It removes all the air from the bags and prevents freezer burn, allowing me to keep frozen veggies for 2 years or more.

Step 8: Labeling and storing in the freezer
This might go without saying, but you should always label the containers that you put in your freezer. It’s easy to forget what you froze and on what date! Write “butternut squash” and the date on a piece of masking tape or directly on the container. Use your frozen butternut squash within a year.

A second method: Freezing squash mash or puree
It’s even easier to learn how to freeze butternut squash puree, because you can skip the blanching step. Puree your squash as you would normally—wash it, slice it, scoop out the seeds, roast it in the oven or microwave, scoop out the flesh, and run it through the food processor. Then let the mashed squash cool, package it into freezer-safe containers, label them, and freeze. Be sure to leave headroom in jars and plastic containers, because butternut squash puree will certainly expand when frozen.
Additional tips for success
The step-by-step method for how to freeze butternut squash covers the process pretty well, but there are a few other things that may help you get started:
- Don’t forget to put a piece of parchment paper on the metal baking tray when freezing squash cubes. It’s easy to pick up the paper with the frozen squash on it and pour the cubes into their freezer containers.
- Divide up the squash puree into muffin tins or ice cube trays to freeze it in smaller, quick-grab portions. Once frozen, remove it from the trays and package into a zipper-top bag. Just grab a cube whenever you need it.
- Ensure the squash is frozen quickly by lightening the load on your freezer. For every 1 cubic foot of freezer space, add no more than 2 pounds of unfrozen food per day.
- Use what you’ve learned about how to freeze butternut squash to freeze other winter squash varieties, too, allowing you to preserve all the flavors of acorn, pie pumpkin, and others.

A squash worth freezing
By learning how to freeze butternut squash, you’re adding a level of convenience to your kitchen and getting more out of your garden produce. What you can’t store as a whole vegetable or use in a recipe can be kept in the freezer. These methods work just as well for squash you purchase at a farmer’s market, but I think it’s even more rewarding to know I’m preserving vegetables that I’ve grown myself.
Now you know how to freeze butternut squash, step by step, as well as how to choose butternuts for freezing, and why to freeze butternut squash to begin with. You can decide whether cubed squash or pureed squash is your favorite method. My guess is, when you realize how easy it is to pull out already cooked squash for butternut squash dips, sauce, and stew, you’ll always find a place for frozen butternut squash in your kitchen.
For more squash-growing advice, check out these additional articles.

Leave a Reply